Here is your step by step to guide on how to install a Facebook Pixel (Meta Pixel) on your Wix website in 10 minutes or less.
What is The Facebook Pixel (Meta Pixel)?
The Facebook Pixel (Meta Pixel) is a piece of code you install on your Wix website to track various different actions performed by users who visit your website from a Facebook ad.
Some of the things the pixel can track include:
- Purchases
- Add to Carts
- Initiated Checkouts
- Adding Payment Info
- Start Trial
- Subscribe
Adding a Facebook Pixel (Meta Pixel) to Your Wix Site
In order to do this you’ll need to have admin permissions on the business account, not to be confused with admin access on the Facebook page.
Step 1: Creating the pixel
- From your Facebook Ads Manager dashboard (business.facebook.com) click the 3×3 dotted grid labeled Business Tools
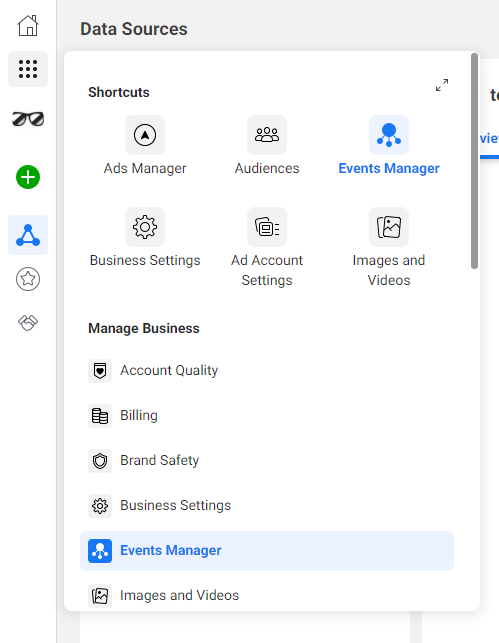
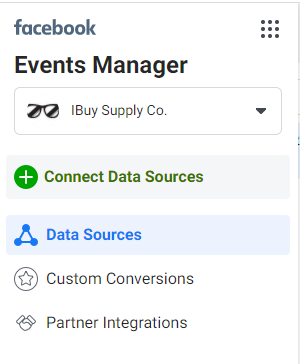
2. Select Events Manager from the Business Tools Menu
3. Select Connect Data Sources (the green plus sign) from the left side of the screen
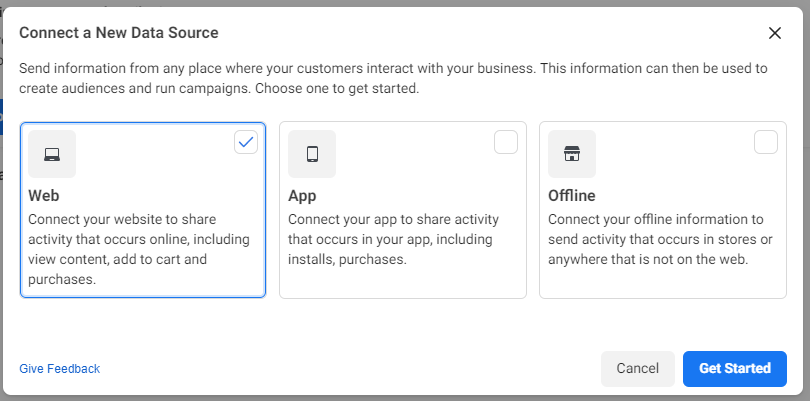
4. Select Web as your new data source and click Get Started
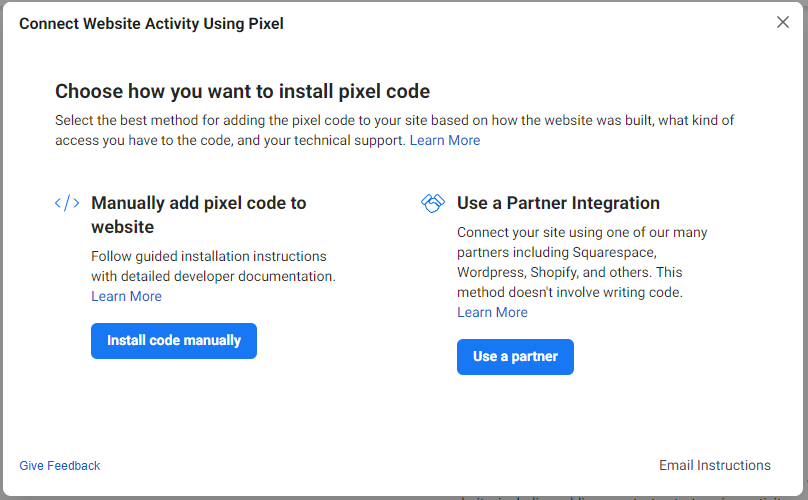
5. Select Facebook Pixel (Meta Pixel) as the connection method and click Connect

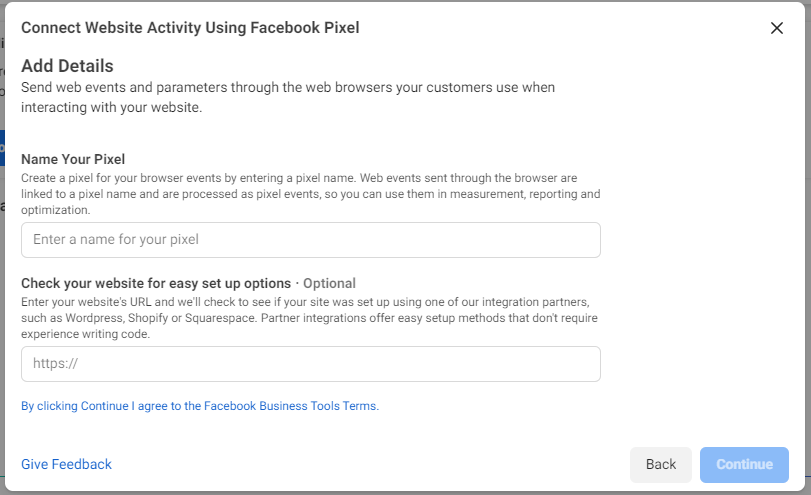
6. Name your Facebook Pixel (Meta Pixel) and hit Continue
(optional) enter your website URL
7. Select Use a Partner Integration
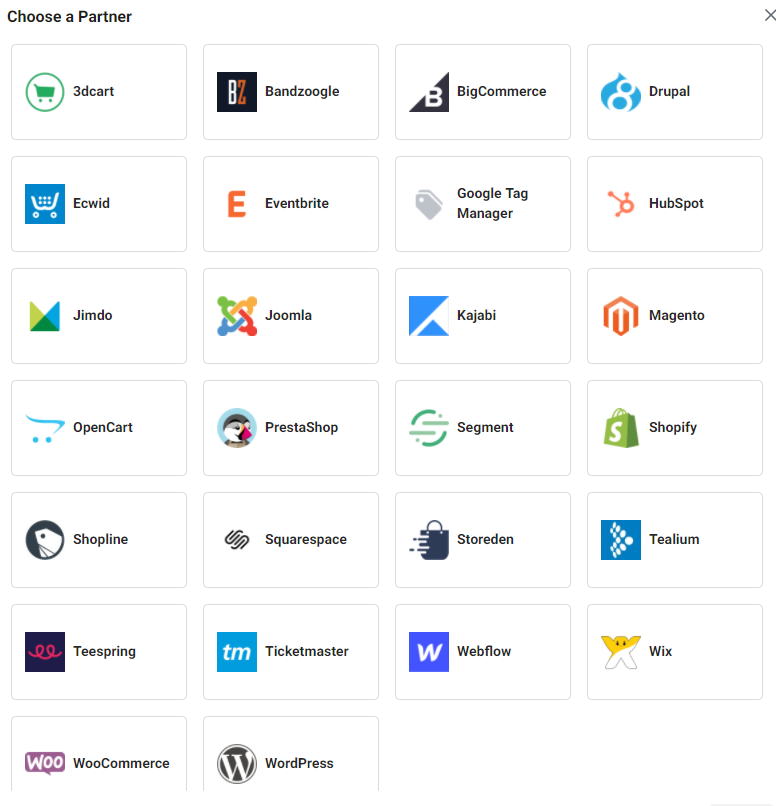
8. Select Wix as your partner
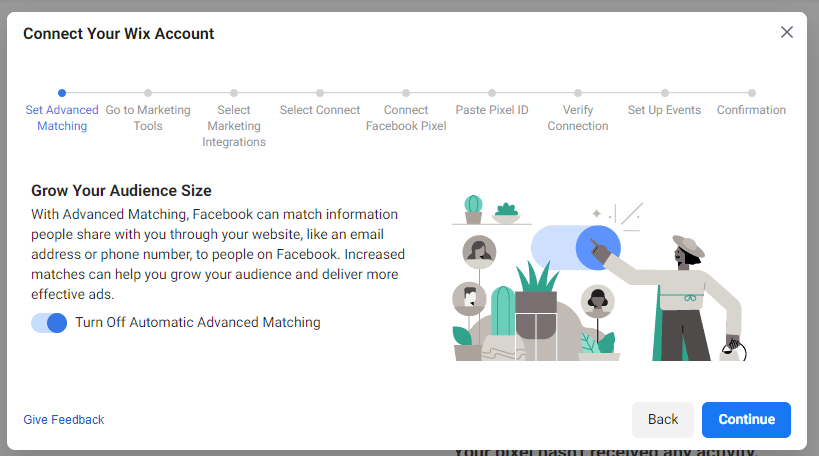
9. Turn on Automatic Advanced Matching and click Continue
Step 2: Connect Meta Pixel to your Wix website
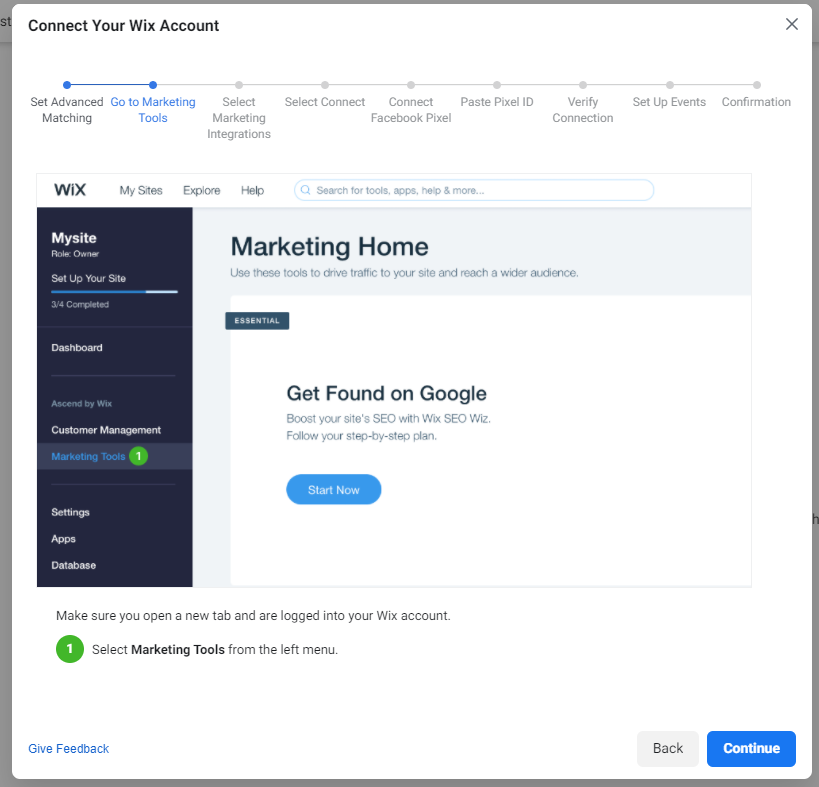
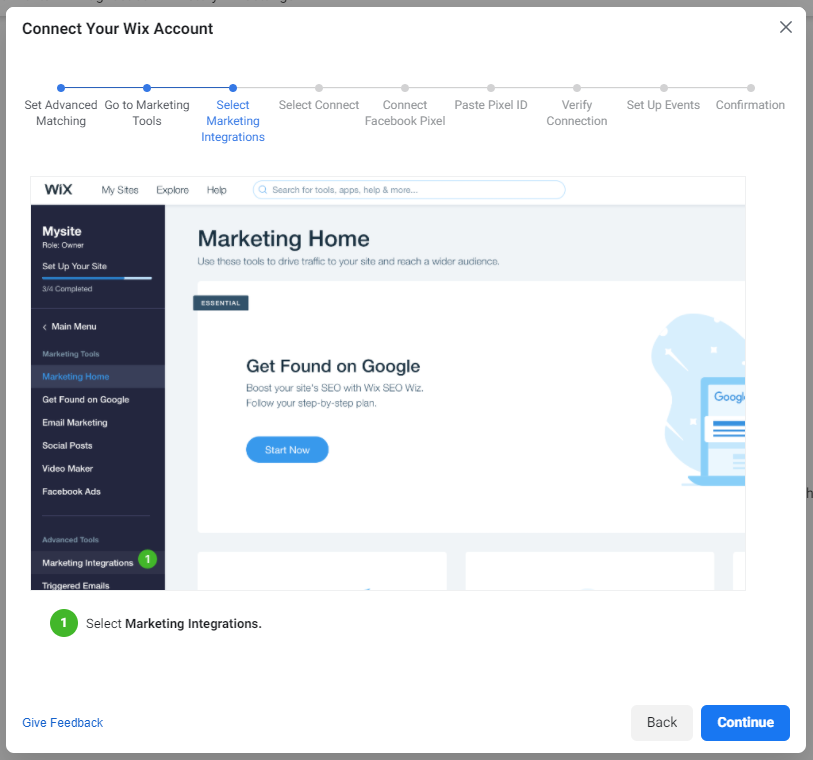
- Select Marketing Tools from the left menu of your Wix dashboard
2. Select Marketing Integrations
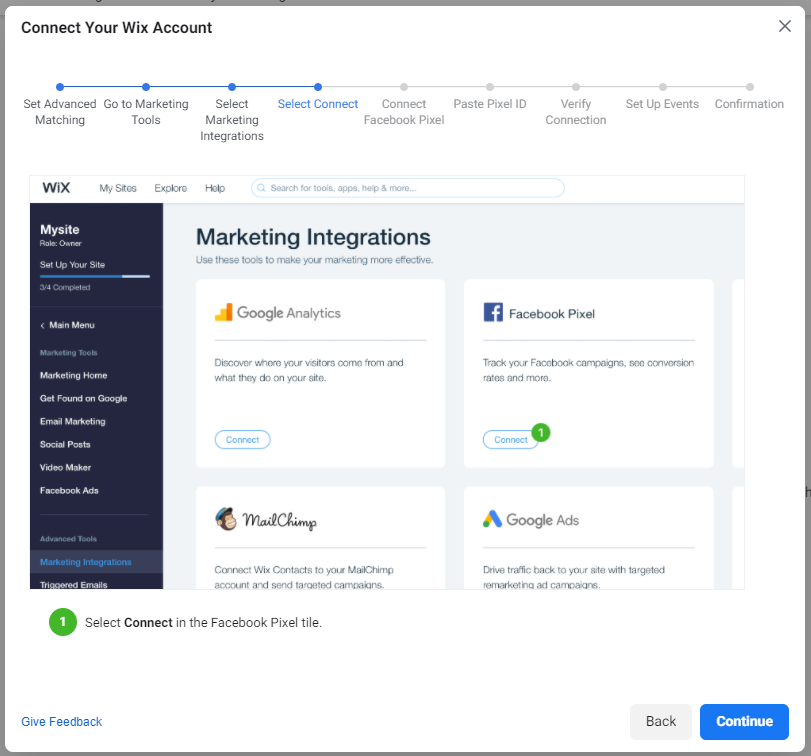
3. Click Connect in the Facebook Pixel (Meta Pixel) box
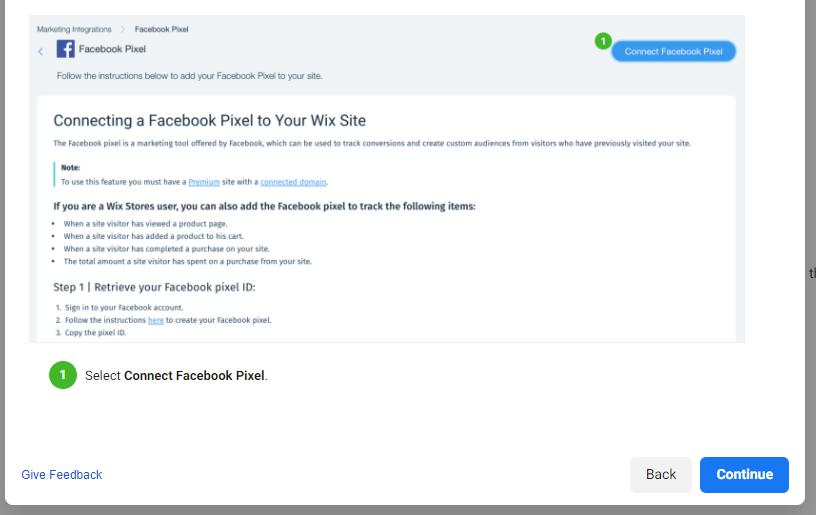
4. Select Connect Facebook Pixel (Meta Pixel) in the top right
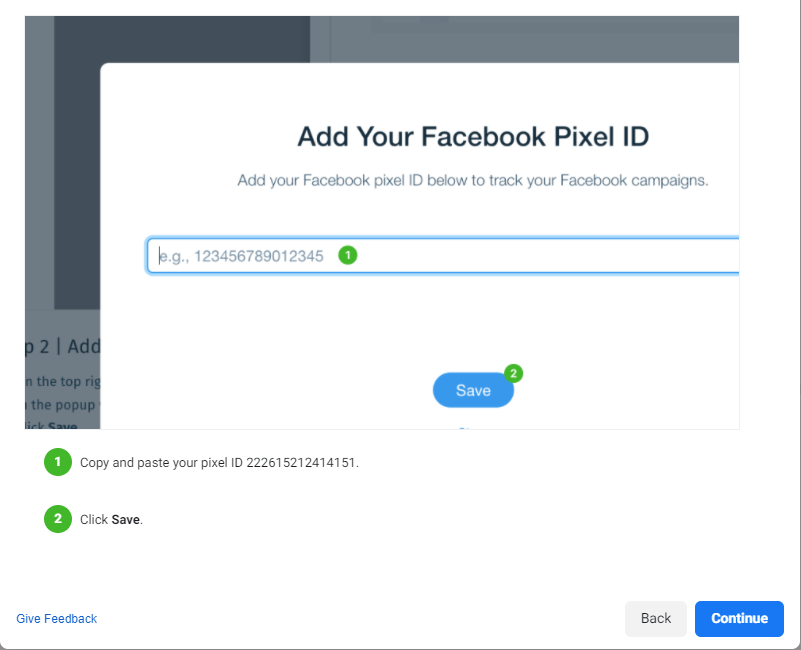
5. Copy and paste your unique Facebook Pixel ID (Meta Pixel ID) into the field and click save
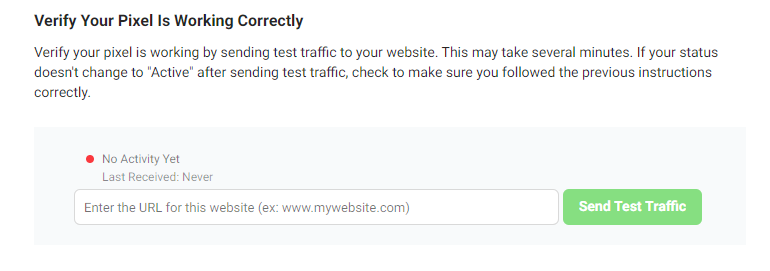
Step 3: Verify your pixel is working
After you finish connecting your pixel to your wix site it’s time to verify it’s working.
- Enter your url in the field and click Send Test Traffic
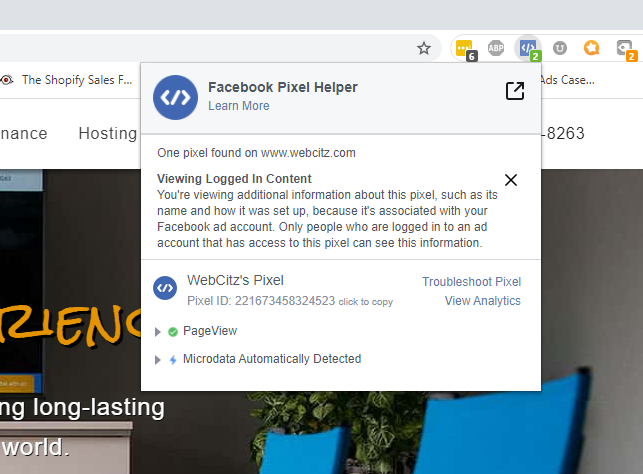
2. Download the Facebook Pixel Helper (Meta Pixel Helper) Chrome extension
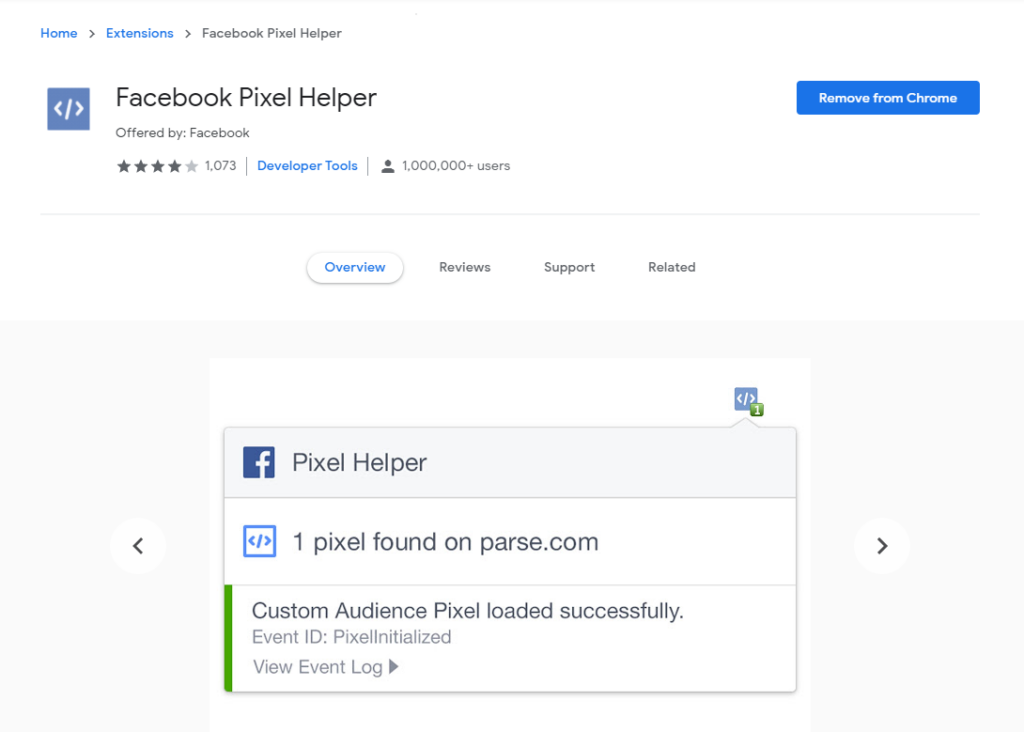
3. Click the extension icon in the upper right corner of Chrome once you are at your website to see if it’s detecting your pixel
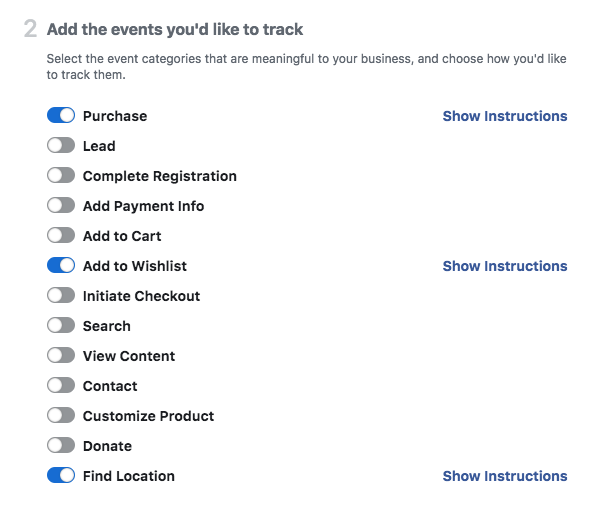
Step 4: Set up events to track
Now that your pixel is created, connected to your Wix site and is working correctly, it’s now time to setup the right events for the pixel to track.
You can do this in one of two ways.
The first option being the list you see below where you can start tracking the event by simply moving the slider.
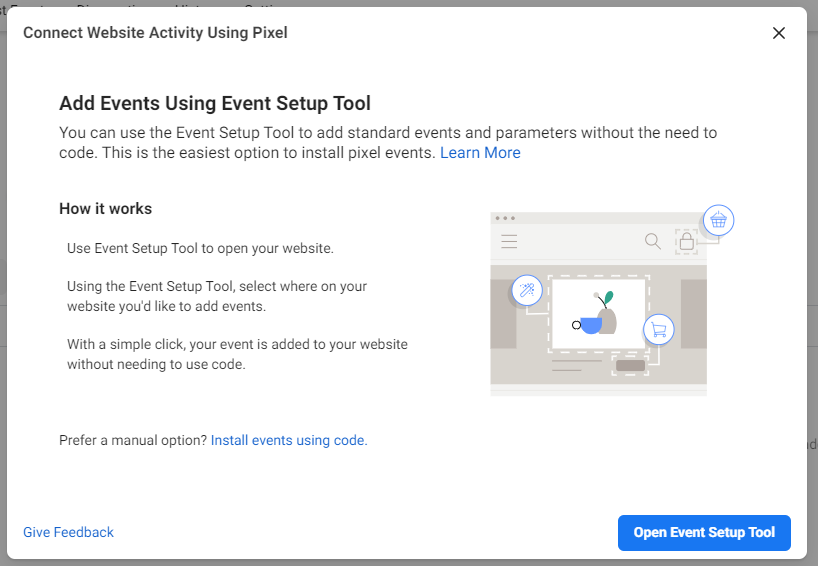
The second option is the preferred way to setup event tracking and that is by using the Facebook Event Setup Tool.
Please add a Lead Magnet.
How to Use The Facebook Event Setup Tool
This newer event setup tool is great for anyone who doesn’t want to have to touch the coding of heir site to get the tracking they want.
Simply open the tool, visit your site and select the button and/or URLs you’d like to track clicks for.
- Open Event Setup Tool from the Events Manager tab in Facebook Ads Manager
2. Enter your website’s URL that has the pixel already connected
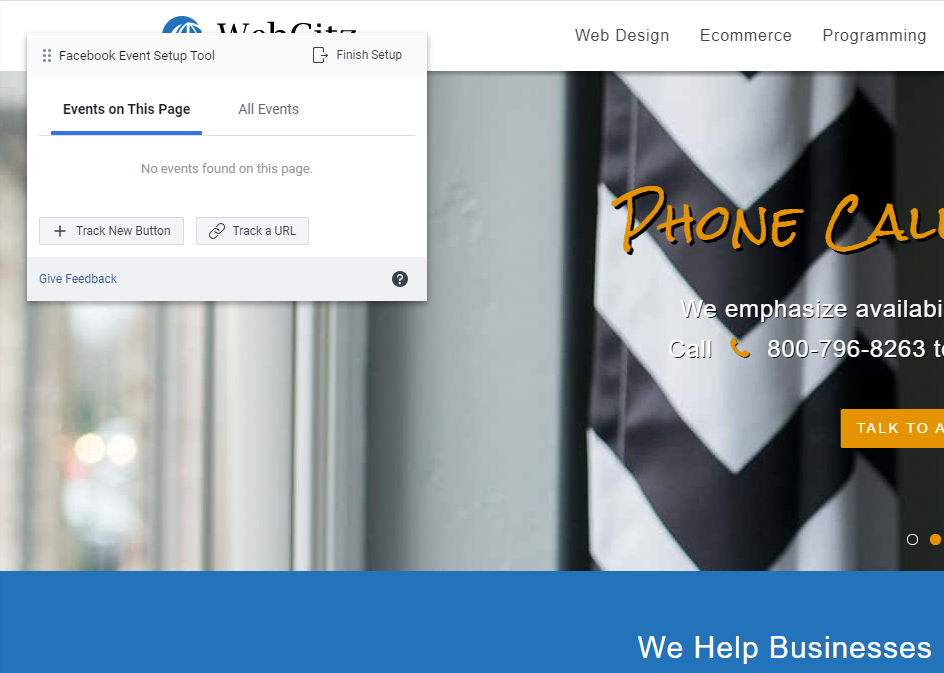
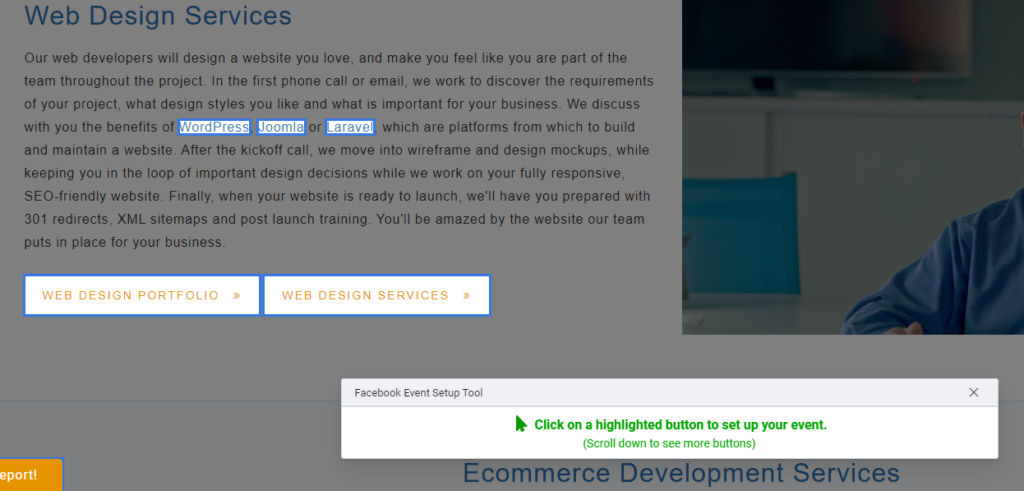
3. Begin creating events by selecting one of the two options give to you
Track a New Button: Using this option allows you to select any clickable element (buttons, link text, etc.) on the current page your on and create a custom event for it.
This means you can name the event, see how many click that link and also optimize your Facebook ads for more of that conversion.
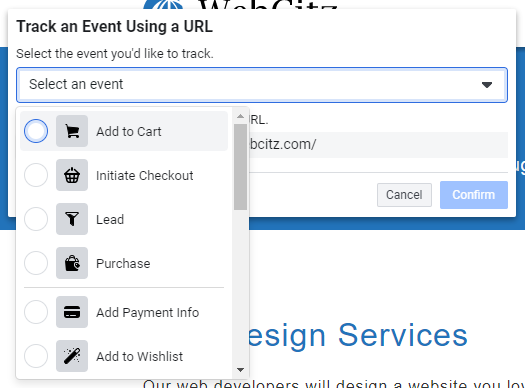
Track an Event Using a URL: This option allows you to track the number of times people visit a specific URL on your site and assign an event to it.
If someone visits the URL mysite.com/checkout you could assign that page load as the Initiate Checkout event. This way you’ll know how many people reached the checkout page on your site.
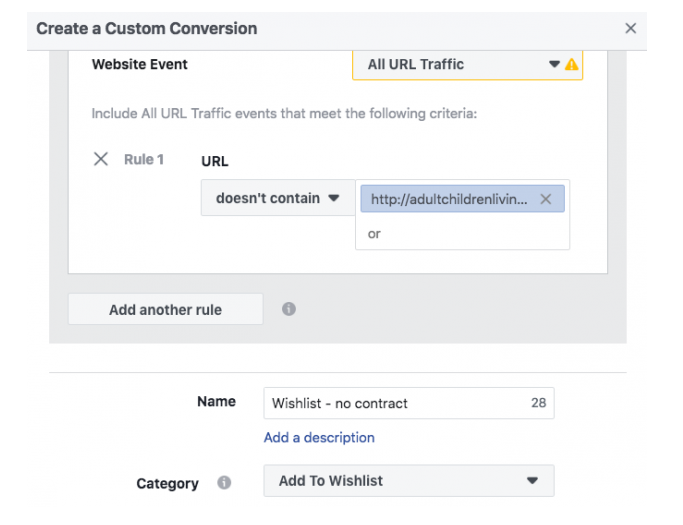
Create Custom Conversions
Creating custom conversions works very similarly to to the Pixel Setup Tool’s URL tracking. The difference this time is that your custom event can be named anything and mean anything.
If you want to know how many people clicked “add to wishlist” on your product pages you can make a custom event. You have no limits here on what you can track.
Benefits of Installing a Facebook Pixel (Meta Pixel) on Your Wix Website
Here’s why you should prioritize the install of a Facebook pixel (Meta pixel) on your Wix website.
- Conversion Tracking
It’s no longer a mystery what someone does on your website after they click one of your Facebook ads. Get insights on how much it costs per page view, add to cart, purchase and more. There’s never been an easier way to gauge ROI. - Remarketing
Only a small percentage of people will buy from you immediately after clicking an ad. With a Facebook pixel (Meta pixel) installed on your Wix website you can display advertisements specifically to people who visited your site but didn’t purchase.